 |
 |
 |
 |
 |
 |
 |
This section of the tutorial is very much similar to dinyctis's tutorial, as there is no real reason to stray past an already well functioning, easily understood method of lighting. However once again I will attempt to bring a better understanding to the approach.
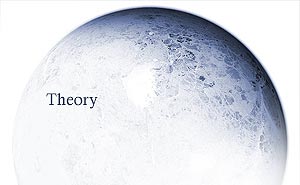
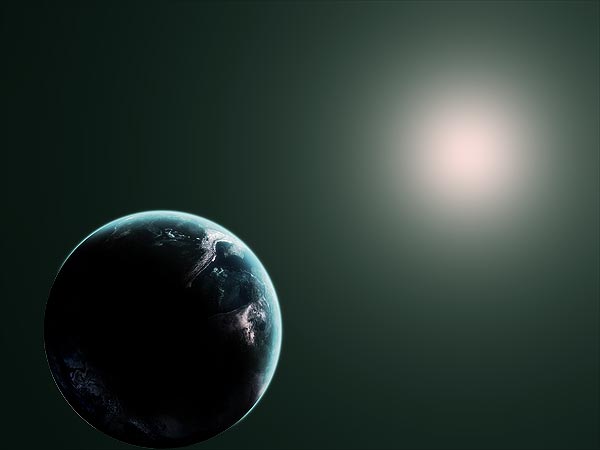
Ultimately, most pieces of space art or terraspace will involve a light source. A portion of the image dedicated to the expulsion of light, that all other elements of the image must echo or reflect. Be it for scientific reasons, or just aesthetics, you have to take into consideration the light source's effect on the planet, bearing in mind its position on the X.Y.Z axes. With that said, I will first deal with single direction lighting, and then move onto multiple light sources. Say you have constructed a sun or large flare for your image, where its luminescence extends across the image. Do you place your planet layers above or below your sun layer? The answer is below. The reason is depicted below.
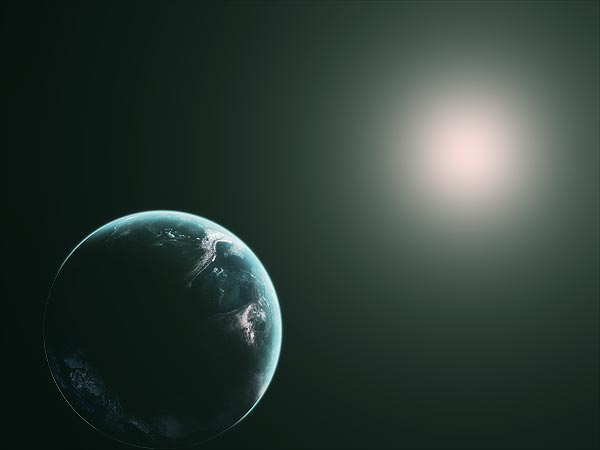
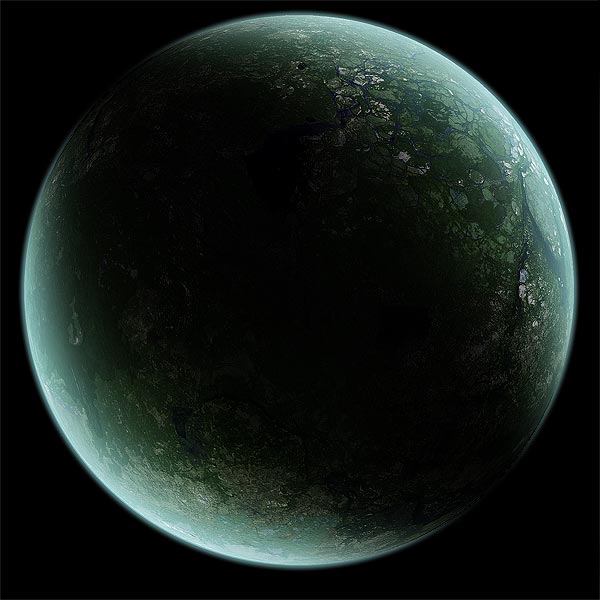
The atmosphere of the planet reflects the sun, sure. But the colouring of the planet is not affected in the least by the sun. Look below.
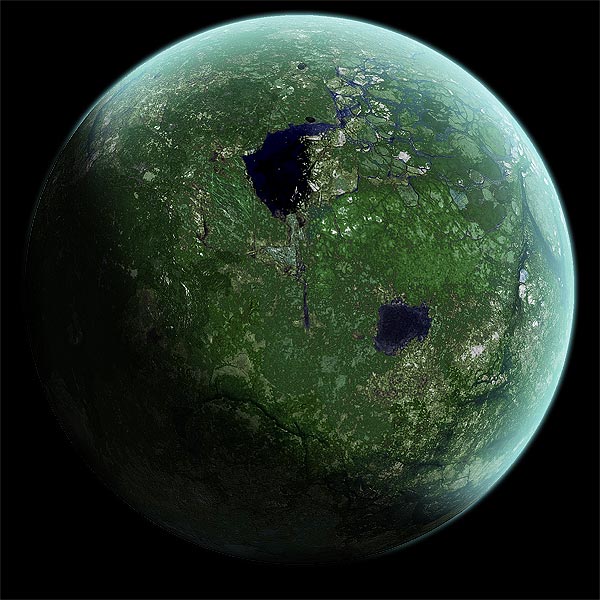
Two things. The planet is blended in a whole lot better into the image, and the colouring of the planet surface is far more in tune. Also,
bear in mind the intensity of the light reflection in the atmosphere.
Sometimes you'll want a softer atmosphere, but sometimes you'll want a
strong reflection, all depending on the intensity of the sun, the colour
of the planet (some colours simply reflect light better than others, darker
colours tend to absorb light).
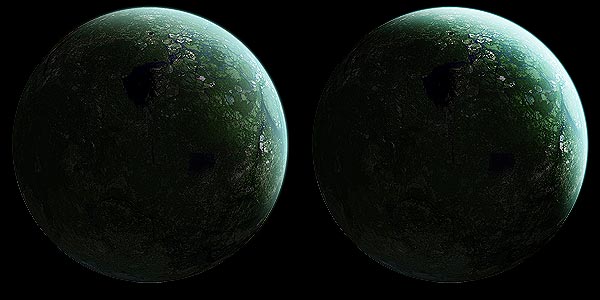
Notice the planet on the right has a stronger atmosphere than the left? if the sun or flare was closer or brighter, that would be the effect. It all depends on what fits your piece the best and what is more feasible. Now to work. |

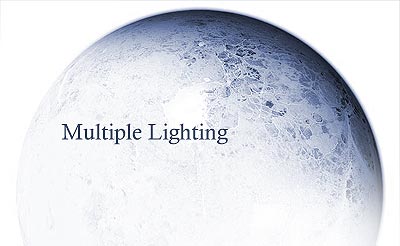
There are two really prominent types of single direction lighting to consider. I will relate them to crescents. One is crescent light, one is crescent shadow. It all depends on how close to the viewer the light source is. The closer it is, the more the lighting tends towards crescent shadow, the further away, the more the lighting tends towards crescent light. So what are crescent light and crescent shadow?
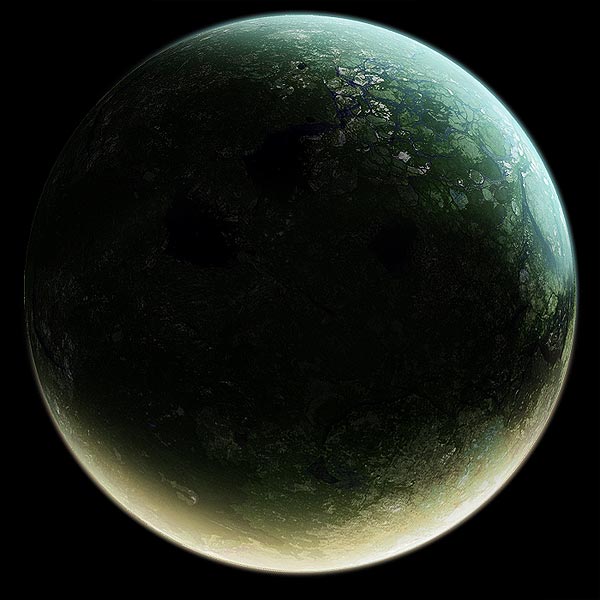
Crescent light: Check the images above, that's crescent light. Basically less than half of the planet is lit up by the flare. So there is effectively a crescent shape of light on the planet. Don't rule out the prospect of having an eclipse whereby the planet covers the sun or flare. Crescent shadow: This is where more than half of the planet is lit up by the flare, and is most definitely a less common image of planets presented in most space art these days. Whether it be because the crescent light style of planet is given as the more traditional view of planets, or the shadowing technique of crescent shadow requires a little more effort. So, onto the creation process. |
We began the tutorial with two extra layers we haven't used yet, shadow and atmosphere.
Shadow: Choose shadow and gaussian blur it to 100 pixels (or less/more, depending on the size of your planet document). Now hide the visibility of the layer (we're going to return to this)
Atmosphere: Dinyctis's planet tutorial adequately goes through this already, and for that reason, I've enclosed a layer style pre-made ready to go. Change the colours as you deem fit. The lighting direction is set to 45 degrees, this is so it is co-ordinated with the 3d bumping we applied to the texture earlier.
Crescent light shadowing: Once again, for this part I echo dinyctis. Use edit->transform, hold shift and drag to the bottom left the bottom left transform part of the box as far as you deem necessary.
Crescent shadow shadowing: This requires a little more thought in the creation process. Now one way of doing it would be to simply brush a shadow straight there, but still, you could have done that for the other method, yet the other method is simply more accurate. Same goes with this method.
First, create a crescent light shadow as you normally would. Now, select that by holding ctrl and clicking that layer. Inverse the selection by going to select -> inverse. Make a new layer, and fill the selection with black. You'll notice that around your sphere is filled with black also. So ctrl+click your texture layer, inverse selection and delete the outside circle. You'll want to rotate that shadow round 180 degrees too, so the atmosphere is shown properly.
That should just about cover single lighting
This
is slightly more complex. The work input in setting up the shadows correctly,
coupled with the right reflection intensities and spreads CAN mak this something
of a tricky thing to pull off successfully. The way I treat this, however, is
to think of it as two planets directly on top of each other. I can then erase
parts of the top planet to uncover parts of the lower planet. Now in this case
I'll keep to the one set of colours, however, in your exploits you may endeavour
to use more than one colour to reflect. To demonstrate this I would use the
example of my own "Icarus's Wish" where there are three prominent
light effects on the planet. Things to remember in this topic:
- Don't limit yourself to the same colour
- Don't limit yourself to different directions
- Don't limit yourself to the same reflection intensities.

The first thing to do is to create a new layer set, and place all the planet layers into that set in their respective order. Duplicate this set. Now you effectively have two identical planets, one on top of the other. Now the lighting effect we will pull off here is the most simple. Dual lighting at the opposite end of the planet. Open your top layer set and rotate the shadow 180 degrees. Repeat that with your atmosphere layer.
NOW CREATE SOME BACKUPS
If you mess this up, then it'll be annoying going back to it. So either save the document, or duplicate both layer sets, put them in a new set and hide visibility.
So at the moment you should have two planet sets and a backup sets. Your planets should be something like.
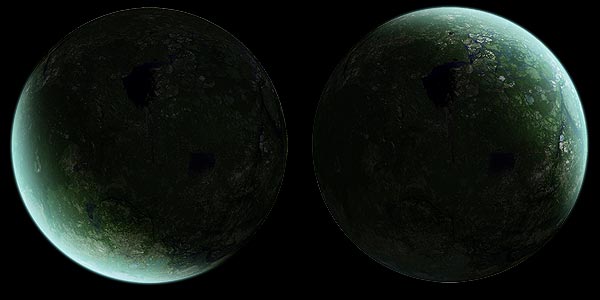
The left being your top, the right being your bottom. So now, select the top set again, and begin erasing the part where the other planet has atmosphere. It's easier to demonstrate in visual than it is in writing. Try and get it to look like the below image.
It's not as difficult as many had previously thought it to be. Now by changing the colour of the atmosphere layer, and using different rotation values of the top layer, and erasing where necessary, you have excellent control over what parts of the planet you wish to have lit. That covers multiple lighting fairly well, just remember that you'll need a new "planet" each time you wish to add a newly lit aspect to the planet.
This was created by simply rotating the shadow and atmosphere, and changing the colours. It's very unrefined, however that's the basics of it.

Different
planets should have different atmospherics. The effects presented in
the .asl file provided shouldn't be taken as the only option. Experiment around
them.
Try duplicating your atmosphere layer once, setting to either
soft light or screen, and then applying a gaussian blur of 10 about it. Sometimes
the effect can be appealing.
Try and visualise your art in a XYZ image in your head. This'll
help a lot when dealing with light sources especially. Imagine you're a camera,
rotate yourself around the scene. Don't be limited by the 2d presentation in
front of you.
| |
|
|
|
|
|
|