 |
 |
 |
 |
 |
 |
 |
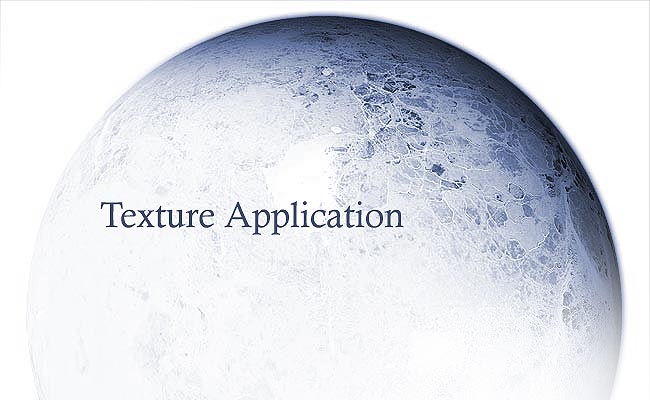
In this chapter I will be demonstrating how to apply the texture to your planet layers so far, bump it, and colour it, thus completing the texturising part of the creation process, which most people seem to have the most difficulty with.
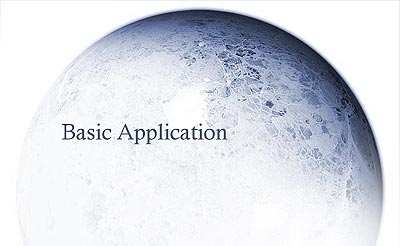
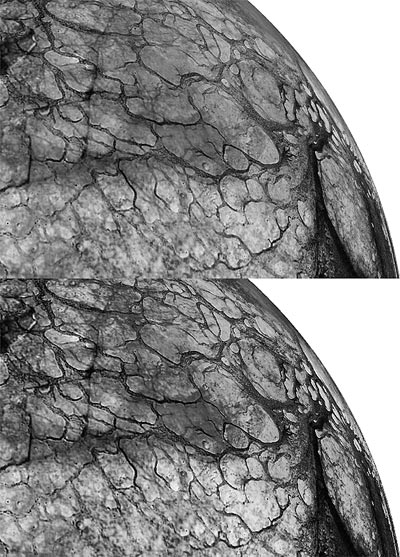
First, merge all layers in your texture .psd and shrink it so that it's the same resolution as your planet document. Paste the texture into the planet document above the base layer (at this point, turn off visibility on the above layers). Select the base layer circle by holding ctrl and clicking the layer. Inverse the selection by going to select and then inverse, and then delete. Inverse the selection again and spherize to 100% twice. The product should be something like what's depicted below.
Now looking at that on its own, it's not too bad looking overall, it's now completely about how you go about the next bit that really defines your planets look and appeal. However before we move on, label your texture layer "texture". Now duplicate it, and move the duplicate to the top layer and set it to 15% opacity and as linear dodge or screen. Name it "night texture".
Keeping this short and sweet, I'll go through a method similar to how Greg Martins Tutorial describes, as this is an effective method of creating a more 3d appeal to the texture itself.
First,
it's time you chose your light source direction. We're going to go with traditional
top lit styles, so this time, top right. In photoshop, that's a 45 degree angle.
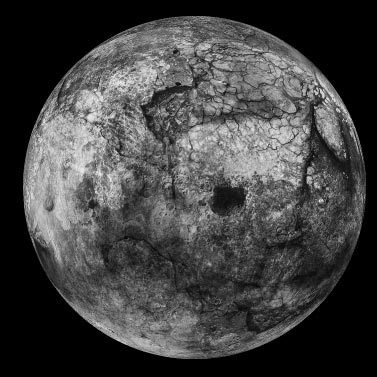
So to bump... duplicate your texture layer first. Now go to select -> color
range, look at the top and pull "highlights" down from the dropdown
list. Now ensure they're selected.
Now go to filter -> stylize -> emboss. Choose an angle of 45 degrees,
a height of between 2 and 4 pixels, and use 100%. Deselect.
IGNORE the appearance of this layer. Yes it looks a little odd, but it's still in progress.
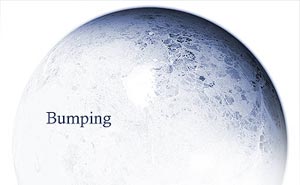
Repeat the phases, except in color range choose "shadows" from the dropdown and in emboss choose -135 for the angle. Set your layer to softlight and preferably to 50% opacity. Your texture should now have more of a 3d feel to it, rather than feeling flat.
This
technique was discovered in a conversation with Brandon
and myself whilst discussing planet creation methods. A more effective way forward
from my own original methods, I'll be putting forward a version of this here.
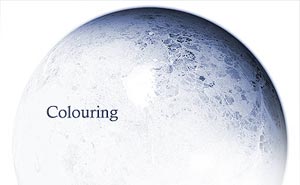
Now for the
purpose of this tutorial, I'll be colouring towards a more habitable planet,
like our own earth, with greens and rivers etc. Our key tool in this creation
process is the magic wand tool, and you will need to get to grips with its tolerance
control methods.
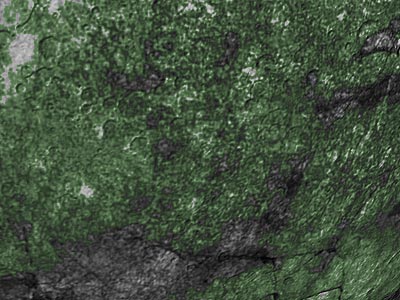
To begin, select your magic wand tool, and set the tolerance to 30 (personally, I wouldn't go below 20 in this method, it'll take too long and isn't entirely necessary). Select a green in your color palette, I chose #465d37. Select a large region on your texture map and fill it with that green on a new layer. (to accomplish that, make sure the texture layer is highlighted, select on that, switch to new layer and fill there). Just filling isn't going to get it looking smooth though, so play with the blending, change opacity and try the different modes I mentioned earlier.
THIS WILL TAKE A WHILE - don't expect it to magically colour itself in as soon as you've done it once. If you're going to do it all well, it could take several layers (in fact, it should be encouraged to use as many layers as possible in order to get the most control over what you're creating.
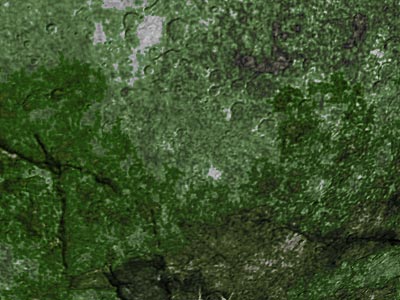
Good colour use is important to create a more realistic look, more shades, more tones... all will increase your planets appeal. Things do get messy, but don't be disheartened by their look. Here is a more complete coloured version.
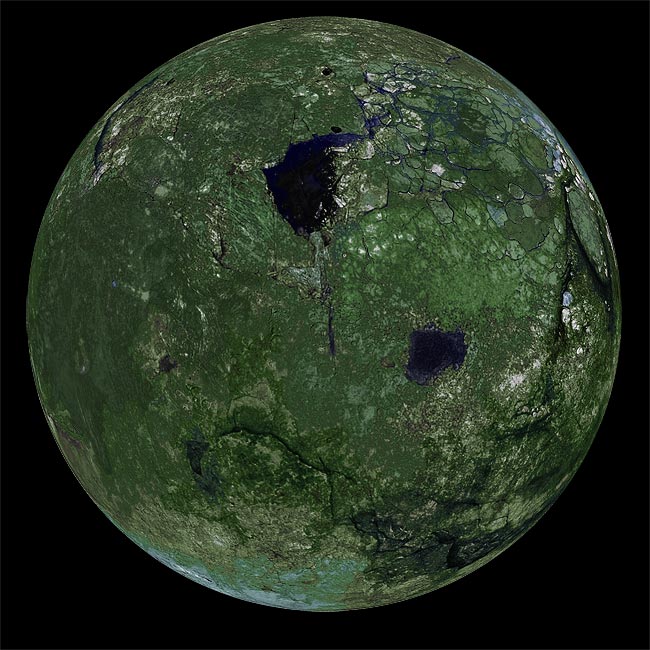
Notice it does look a tad messy, but for a moment I'll show you it with the shadows and lighting effects applied (covered later).
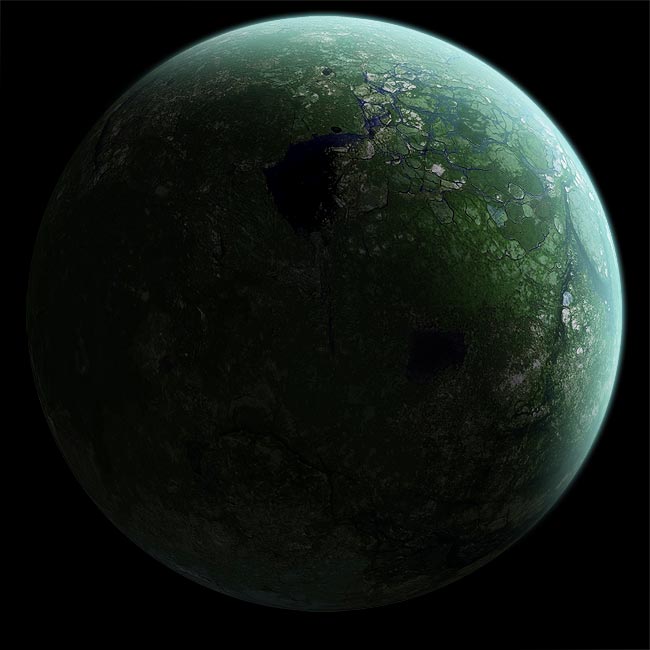
Looks much better. That's pretty much the texturing process complete, it's as complex as you want it to be, but it does offer a better insight into more detailed methods of planet creation, above the normal boundaries of simply spherising one texture.

-
Experiment with Colour and blending modes - some colours will
have different effects with different blending modes. Try greens, yellows, oranges,
and often the least saturated colours make for the more realistic colours.
- Desaturation - At the end, enter hue and saturation control
and desaturate a little, sometimes the colours will benefit.
- Don't use large emboss values - the effect should be subtle.
The more you attempt to bring it out with higher values the more adverse the
effect will be. Texture distortion is also likely to occur.
| |
|
|
|
|
|
|