 |
 |
 |
 |
 |
 |
 |
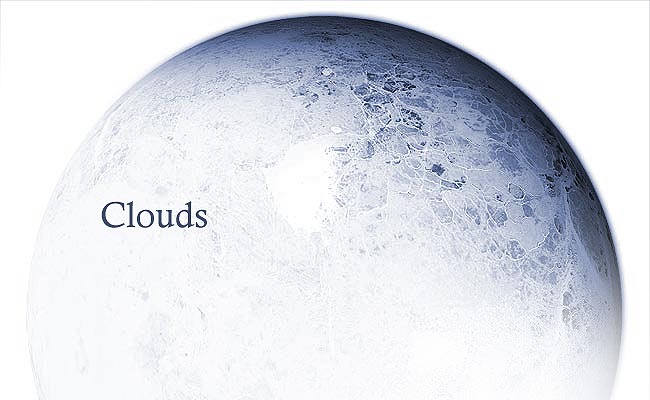
Planet clouds are
some of the most impressive aspects of a finished planet. The way they have
such intricate and unique formations that tell a lot about a planet is something
near enchanting. So, how to go about creating them?

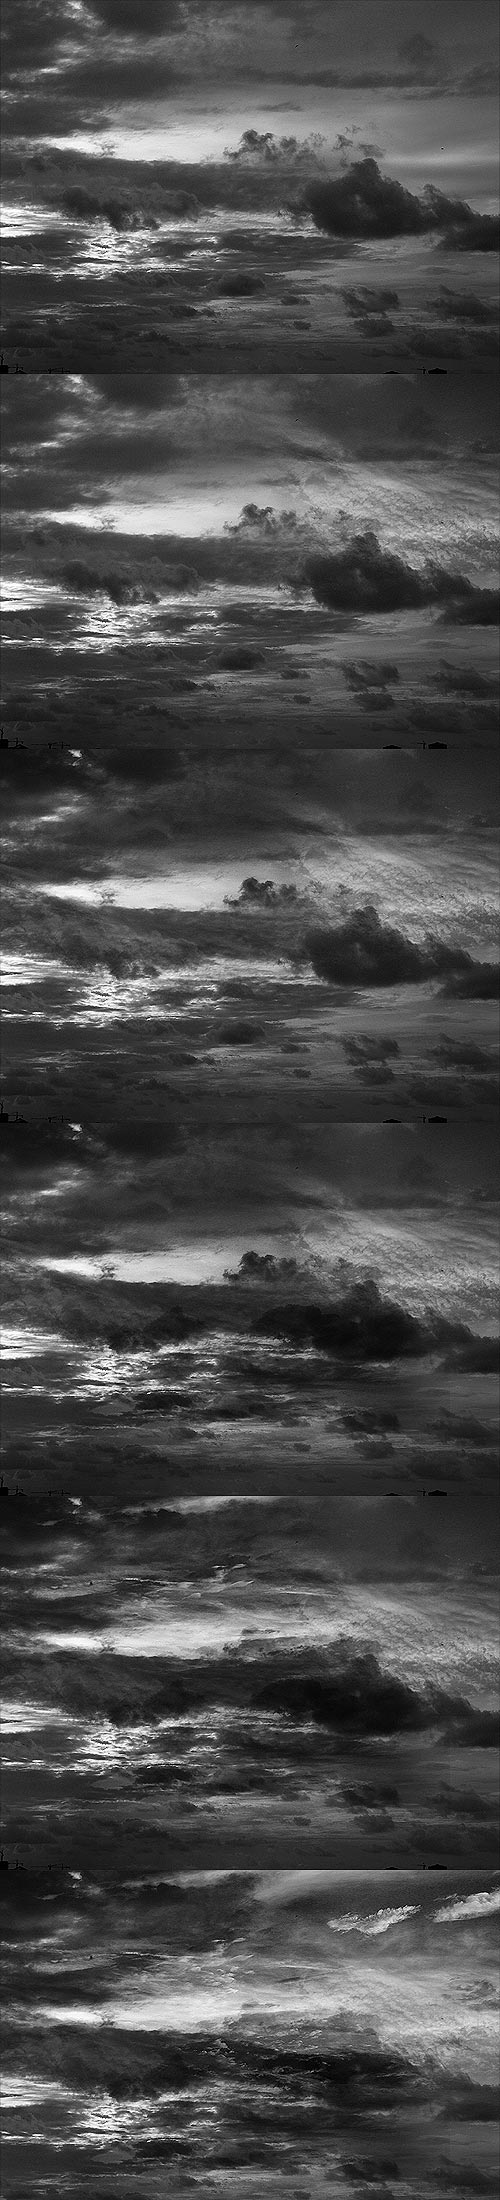
The first thing we must take into consideration is, "should my planet have clouds?". Now this may sound silly, but it's perfectly fine for a planet NOT to have clouds. In fact, some planets simply wouldn't because they don't posess the right make-up in terms of elements. Maybe your planet lacks an atmosphere, or the right gaseous properties such as temperatures. So don't feel at all pressured to have a planet with clouds. Next, consider your texture you created before hand. Do you like it? have you spent a considerable amount of time on it? If you answered both "yes", consider again, "do I want a clouds formation?". Most likely, no. Why? because your clouds will conceal your beautiful texture. So anyway, creating clouds. There are two ways of going about this that spring to mind instantly. The first is the more "manual labour" method. That would be brushing out the cloud formations on your own. The second involves manipulating cloud textures much like the first method and placing them over as an additional texture layer. With regards to the latter, many people are now beginning to use real satellite photos for cloud texture. Nothing too much wrong with this other than you can't learn from it. Most experienced artists in the genre can tell if you're using a real cloud map without manipulation or not. You will feel a lot better about yourself if you create your own impressive cloud map, keep that in mind. In any case, I will be using a cloud map to reference to for the purposes of this particular part of the guide. Now think earth clouds. The geographers amongst you will know that there are several different types, from cumulonimbus to cirrus, to stratus. What does that mean? It means your clouds should be of various density, various shapes and sizes. Our atmosphere is constantly changing, you'll never really see the same formation twice. Hence treat everything as random. The cloud map below will emphasise this point. |
The first method is the brushing method. For a reference, here is a satellite image of earths clouds at one point in time.
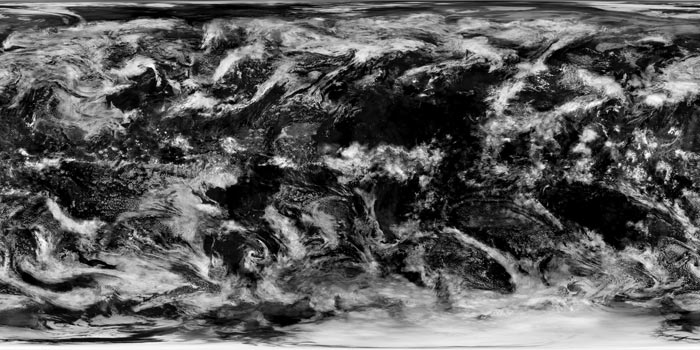
Before
starting, we'd be foolish not to study this at least a little. Notice the following.
- There is no pattern - Everything is random, not
repeating, if you have repeated parts, people may notice, and that just wouldn't
be cloud-like. simple.
- Clouds are GREY - not stark white like the page
background. So as a rule, don't brush either at full opacity for white, or just
use a light grey. White clouds if any should be very rare as they are just exceptionally
dense.
- Texture - some parts of the map appear to be textured,
so why not apply a texture to your brush?
- Areas of nothing - if you fill the entire map, then
you won't see texture. Simple as that. So don't be tempted to go overboard with
your brushing, keep a fair part of it blank, but don't leave huge open spaces
of nothing either, as that is very unlikely.
- Size and thickness - Everything seems to vary, some
parts are miniscule yet others show large clumps of cloud. You ought to be going
for a random look.
Now with regards to cloud brushing, there is a tutorial already in existence that is the best way forward for this so far, and unfortunately I haven't found a better way as of yet to brush clouds, so this will be more of a furthering on that tutorial as opposed to a huge new all singing all dancing secret formula. That tutorial is UCD's Land Planet Tutorial.
Before we get started, if you're not familiar with the brush dialogue in photoshop, then read Texture Developement by Brandon Hale. You'd be a fool to attempt to go into this without knowing how to customise your brushes. Now open up a document on it's own as large as your original texture document. Fill it with black (you set to screen later so black is ignored).
So
what brushes do I use? - most later versions of photoshop come
along with a ranged set of brushes. You should take advantage of some of these,
especially the more peculiar spattered variety. Next comes playing about in
the dialogue, try dual brushing, some scattering for the tiny clouds helps also.
Using a low brush opacity like 20% and building up on areas is also a more effective
way of achieving varied thickness than just changing the colour to a darker
grey.
What textures could I use? - the cloudmap above had
some parts that seemed textured, why not apply a cloud texture to your brush?
Mayang has plenty. Be careful what textures
you choose though, I prefer the more dotted, sporadic clouds.
What about erasing? - Sure, the eraser is a brush
too. Apply a texture and some settings and feel free to erase. Play with the
brush opacity too for some intriguing effects on your clouds. Just because you've
brushed it out doesn't mean you can't take some of it away, for its benefit.
What about filters like twirl and liquify? - Fine,
in extreme moderation. Excessive use is not a place to go. Remember that a filter
is just a mathematical calculation, the results often look the same. Clouds
are random, you don't have much room for similarities. If you want to achieve
a storm effect with a twirl filter, go for it, but be careful not to repeat
it often.
Aside from those tips, following UCD's tutorial is the best thing to do if you want to brush.
The second method involves cloud manipulation. Now returning to cloud-maps. Applying an unmanipulated cloud map to your planet and reaping the rewards of praise from people admiring your "work" is something of a cheated fame. If you do insist on applying a cloud map, then at least manipulate it heavily, so it's something nearer to your own work. This section is going to be treated much like the original texture creation aspect at the beginning of the tutorial, because that's what clouds are essentially, another set of texture layers. So you're going to need a base, and it's up to you what you use. The textures you apply above will most likely be cloud textures, except you'll have to shrink them most, so this could take some time. Then the process is similar to the original texture creation, so I'll show a build-up.
Notice in the end it's very complicated, many shades etc. But there's a lot of black which is the main thing, that'll be the negative space. Now to apply it to my original planet.
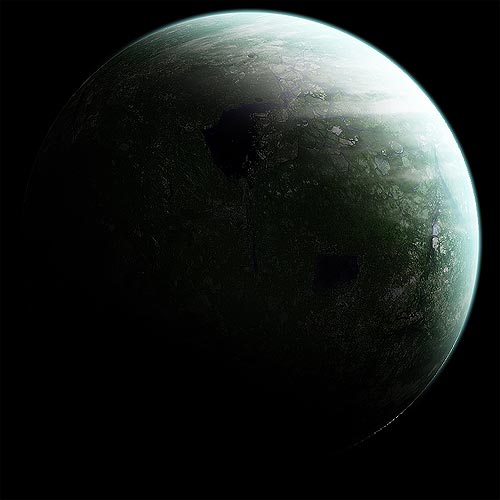
So that's another way of doing clouds, and it's my preferred choice in honesty. Results vary each time of course. Always worth experimenting with different cloud textures too.


-
Not all planets require clouds - Some planets just don't have
clouds, maybe it's due to a lack of atmosphere, or lacking the elements necessary,
but some just don't have them, so don't be pressurised to include them. Simple.
Especially if they conceal up parts of an impressive texture.
- Don't conceal an entire texture - Now why would you put in
considerable amount of effort into creating a texture if you're just going to
cover it with a cloud map? no point really. Remember to include some negative
spaces in your map to show off the texture, don't go overboard with covering
the map. Getting a good balance is the key.
- Play with it - Once you've applied your map, play around
with it, rotate it and see what's the best view for it, what parts of your texture
do you wish to show and wish to hide.
| |
|
|
|
|
|
|