Using
just one texture in Photoshop, I'm going to teach you how
to make a planet that looks somewhat realistic although, in
the end, whether it looks realistic or not is entirely up
to you and the way you play with settings.
Texture:
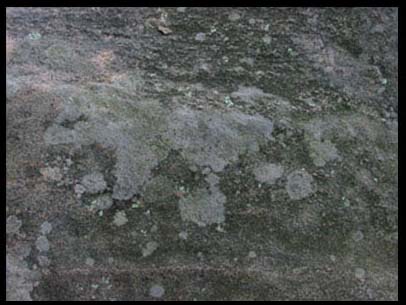
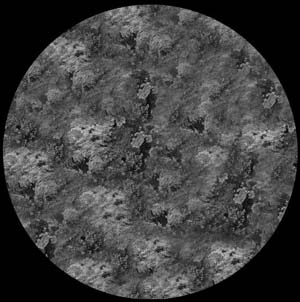
I used a texture from a rock. You can try different textures
such as leather, and things of the like. If possible, avoid
uniform textures, since they will make the planet look too
uniform. Open up your texture with photoshop, increase your
canvas size to a 1:1:1 ratio (EJ: 3000x3000,
5000x5000, etc)
Because
I will be working at high resolutions, I increased the canvas
size to 4000x4000.
Note:
If you have 512 megs of RAM or less, don't use such high resolutions,
because Photoshop will not be able to apply certain filters.
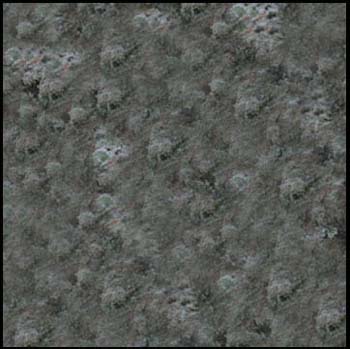
Now
you should have the texture in the center, surrounded by empty
space. Use the clone stamp tool (in Photoshop toolbar, 1st
row, 5th down) to fill up the empty space (hold Alt+click
the section that you want to clone, and then start brushing).
Make sure that your hardness is 0%, otherwise it's going to
look disastrous. Remember that this texture will be twice
as big as the planet we will be making. Once you're done with
this, go to the Edit menu, and select Define Pattern, then
name it whatever you want.
|
|
| Now
we proceed to making a new document. What size? Since my previous
one was 4000x4000, the new one will be the same size. Now fill
the background with black, pick the Elliptical marquee tool
(press M until you see it at the top left of the toolbar), hold
down shift and drag the mouse so that you get a perfect circle. |
 |
Now that
you have a nice circle, select the Paint bucket tool, and
change the setting to pattern instead of
foreground. Make a new layer (ctrl+shift+N
for windows, apple+shift+N for Macs), and fill the circle
with the pattern. You should end up with something like this:
|
| Now
all we need to do is to spherize it. Make sure that the layer
is still selected (dotted line around the circle), if not,
ctrl+click (for Windows) or apple+click (for Mac) to select
it. Go go filters/distort and select Spherize. Set to 100%
and apply. Now we have something that slightly resembles a
sphere, but it doesn't look round enough, so we go ahead and
apply the filter again under the same settings. The center
might look distorted, but it will not be a problem because
we will be resizing this anyway and it will be unnoticeable. |
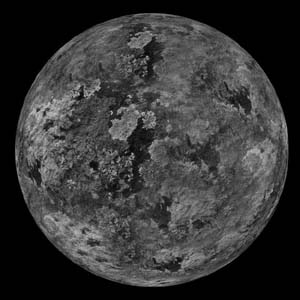
Now
we have a nice texture that we can use, you may go ahead
and save it, but don't close the document yet.
|
|
We
are now done with the texture, so we must go and get started
on the planet .
|
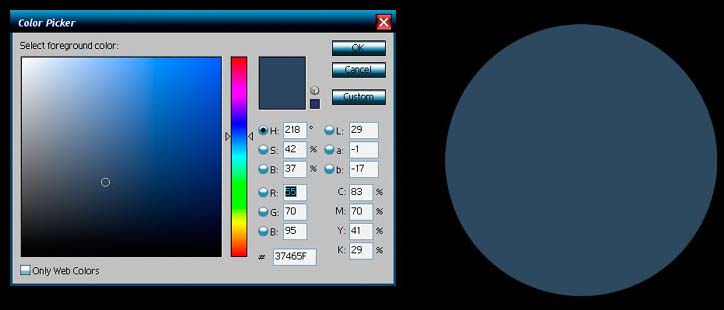
Make
a new document. Because my texture was at 4000x4000, i made
a new document at 2000x2000 (1/4th of the original). Do
the perfect circle move again with the marquee tool,
Once
you're done with that, duplicate the layer and make the
duplicates black (you can do this by turning down the brightness
under the image/adjustments menu. Call the blue layer "base,"the
next one "shadow," and the next one "atmosphere."
Now
turn the atmosphere layer to screen, and
apply the following settings:
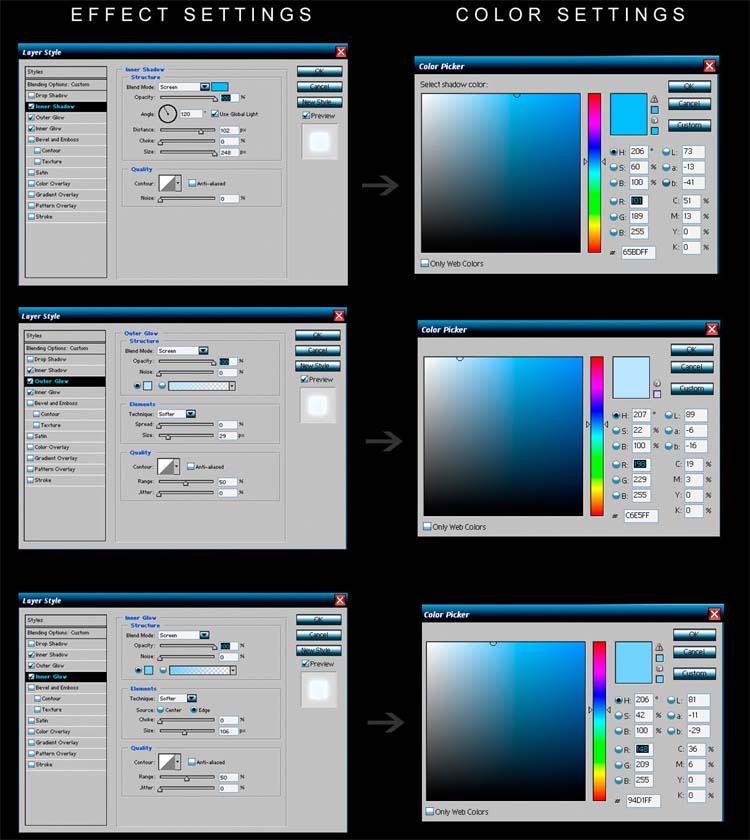
If
you applied the settings properly, you should have something
similar to what you see to your bottom left.
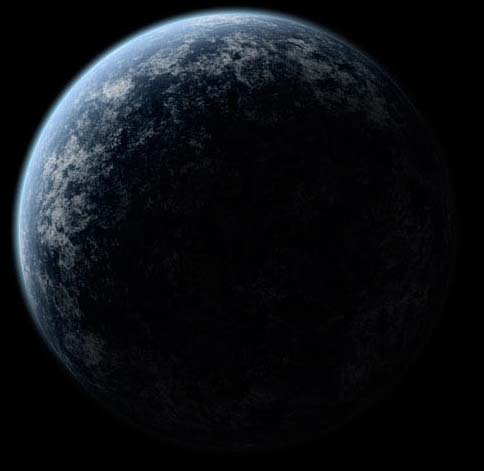
Make
a new layer, link it with the atmosphere layer, and then
merge the 2 together (layer menu - merge linked). Then set
this new layer to screen, and rename it "atmosphere."
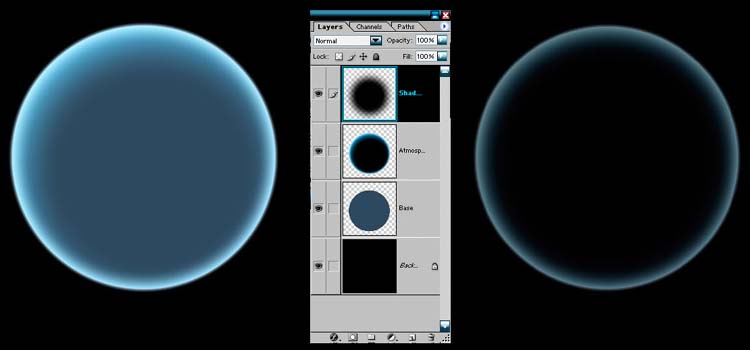
Once
you're done with that, take the shadow layer and move it
over the atmosphere and apply a gaussian blur of 100. The
layer should not be selected (dotted line around) This should
leave you with something that looks like what you see to
your lower-right.
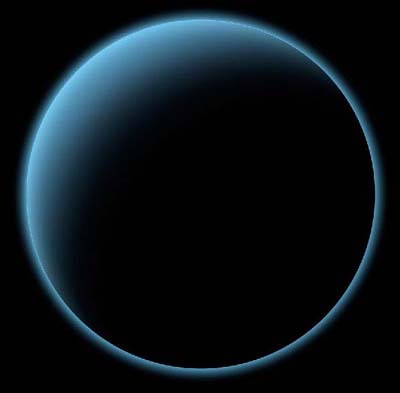
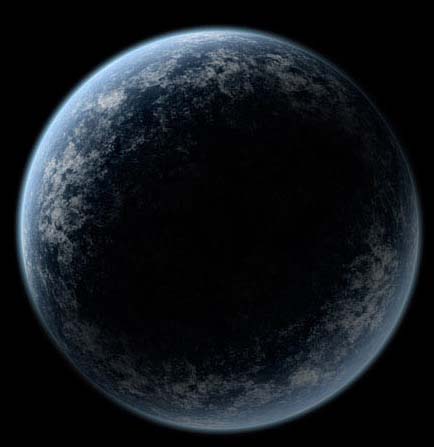
Hit
ctrl+T to transform the shadow layer. Now we need to decide
upon a light point. To keep it simple, my light will be
coming from the upper left, so we hold down the shift key,
and stretch the lower right corner of the layer. Resize
it until you are satisfied. You should end up with something
that looks similar to this:

That
looks rather nice, however, there is a problem. If we add
a background, like a star field, then the shadow will get
in the way. We only want the shadow to obscure the planet.
Ctrl+click
or apple+click the layer base. This should add selection
marks (marquee). Now go to the shadow layer, copy (ctrl+C
for pc, apple+c for macs)) and then paste (ctrl+v for pc,
apple+v for macs). Then you can go ahead and delete the
bigger shadow layer. Rename the new layer to "shadow."
You should have something that looks like so:
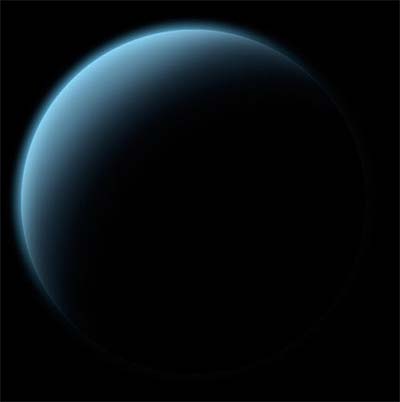
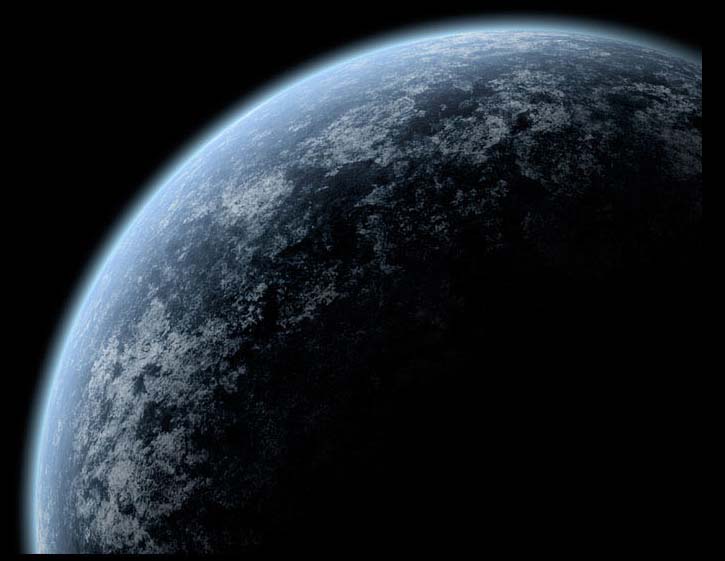
What
we need to do now is get rid of the atmosphere that's on
the dark side of the part of the planet, because there is
no visible atmosphere on dark sides of celestial bodies.
Select
the eraser tool and pick a big fuzzy brush. Set the opacity
to 75% and flow to 100% and start erasing smoothly until
you have a soft, smooth-looking atmosphere. Mine looks like
this:
Now
we have the base file for a planet. You can apply any texture
that you want to this, so go right ahead and save it as
a PSD to preserve layer configurations.
|
At this moment, you should have 2 documents open in Photoshop:
- Texture file
- Base planet file.
In the texture file, you should have your texture selected. Go
ahead and bring it into the base planet file, and place the layer
between the base and the atmosphere layer. Of course, our texture
is 4 times bigger than our planet, so you will resize it to fit
the planet (remember to hold down the shift key in order to keep
the proportions). If you aren't very good at resizing and end up
with a texture that is slightly bigger than the planet, ctrl+click
(or apple+click) the base layer, invert it (ctrl+shift+I for pc,
apple+shift+I for macs) and then hit the delete key or the backspace
key.
Take the texture layer, rename it to "land" and set it
to screen. That should look something like this:

NOTE:
If you need an "accessory" planet, which is a happen that
happens to be far away from the viewer and lots of detail is unnecessary,
you can use this. However, we will use a lot of detail for really
nice close-ups.
What
we will do now is have a nice uniform land texture that won't get
in the way with our clouds. So what we do is set the land layer
to 33% opacity, duplicate it, rotate it 90 degrees clock-wise, duplicate
it again, and flip it again in the same direction. Then link all
of the 3 layers together and merge them. Now go ahead and set this
layer to Overlay or Soft Light (the choice is up to you). My texture
looks like so:
Note: if you wish to use this as your final planet,
you might want to do some brightness/contrast adjustments to make
it look sharper and more realistic:
I use -50 for brightness, +50 for contrast, and
then desaturated it a bit (-50 in hue/saturation controls)

Now the fun begins, when we start to pile layer upon
layer. Duplicate the land layer, set it to screen, increase its
contrast and decrease its brightness until you are satisfied with
the results. Mine looks like this:
If
you want a basic detailed planet, you are done. It is up to you
to keep adding layers, playing with blending modes, etc, etc.
If
you don't feel comfortable with the dark side of the planet being
completely black, all you have to turn down the opacity on the shadow
layer. I turned it down to 90% and got something that looks like
this:
But what if
you have 2 suns in your space scene? All you need to do is use a
layer set. What is a layer set? A layer set is like a folder in
which you dump all your layers, so that you can move them around
freely as a group without having to link them together.
All
you need to do now is drag the layers into the layer set. Once you
are done with that, you duplicate the layer set, set it to screen,
and then give it an opacity of 20%
Let
us pretend that the considerably dimmer sun is coming from the lower
right, all you need to do is flip the layer set 180 degrees, and
the result would look like this:
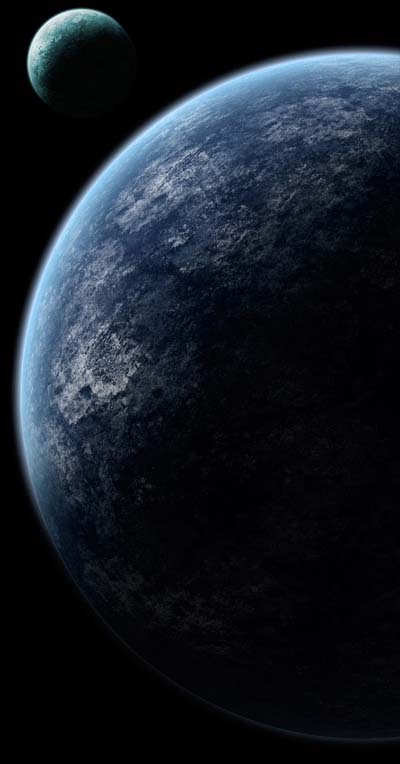
This
planet is now officially DONE.
Now
you know how to make a planet.
Don't
be afraid of trying new and different settings.
Experimenting
is the best way to learn!
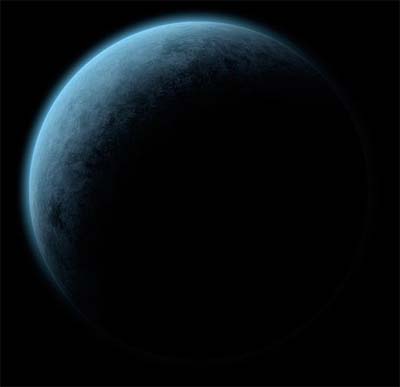
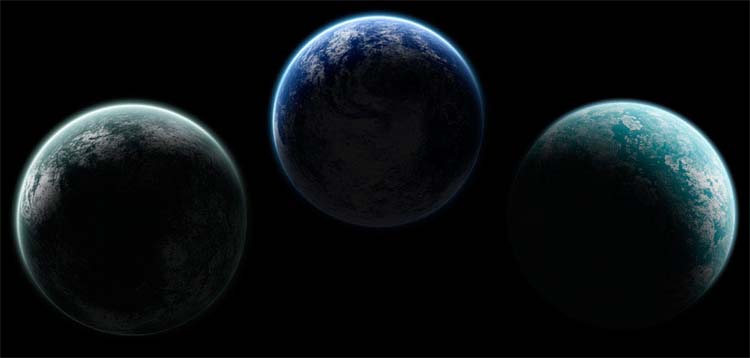
Here
are some more samples of "quickies" that I made (relatively
simple planets)
|