Planet Ring Tutorial
This tutorial is based on photoshop 7.
Planet rings in 8 steps.
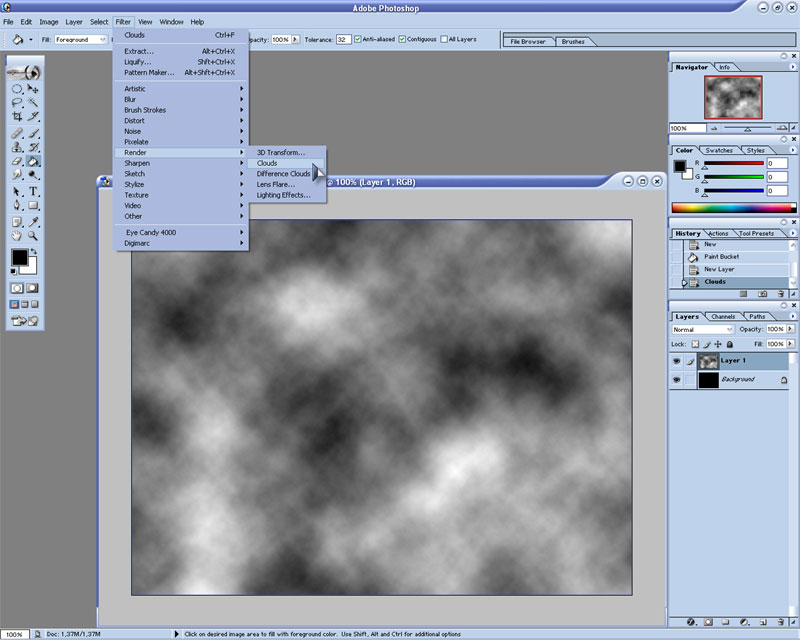
1. You start with making the background black. Then you create a new layer on wich you apply filter --> render --> clouds. Make sure you have black and white selected as colors (see picture). If you do it right you will get something like this.
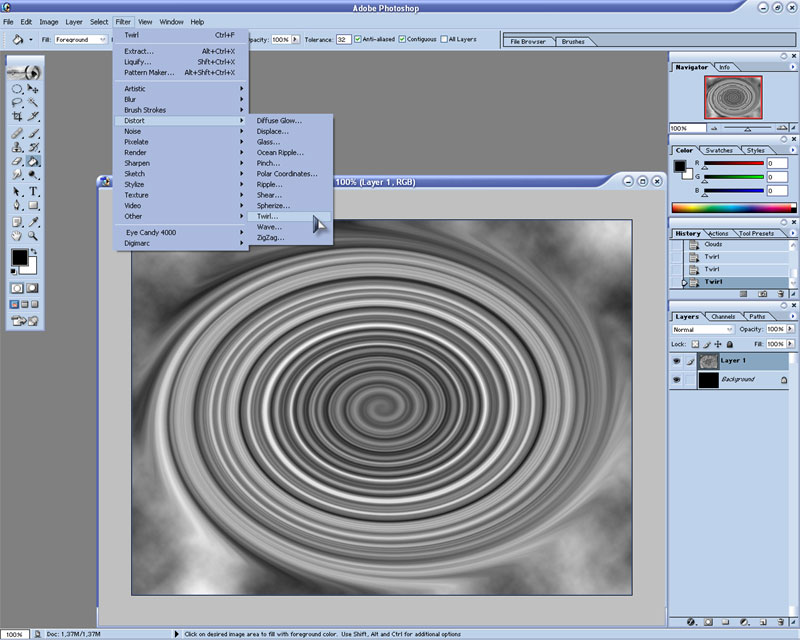
2. Then you apply filter --> distort --> twirl. You set the twirl to it's max at 999. Apply it about 3 times and you will have something like this.
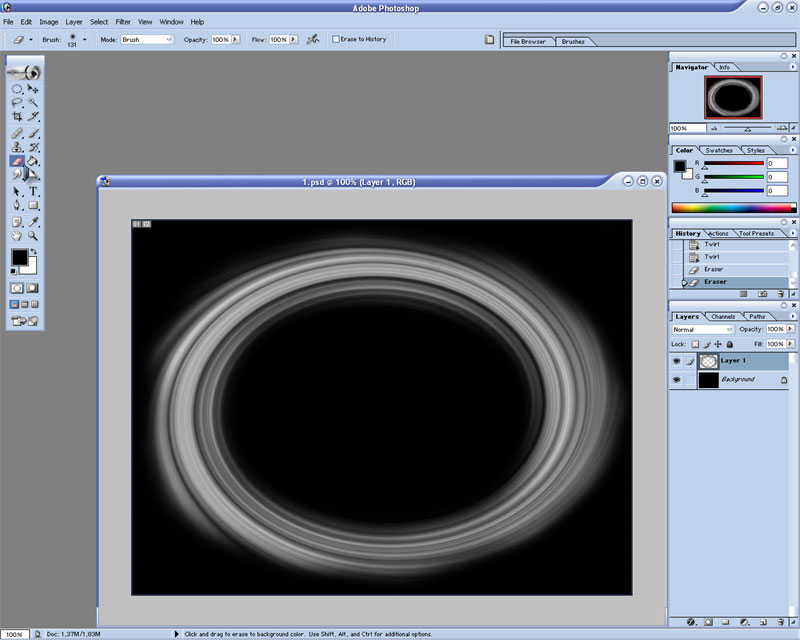
3. Then, you select the eraser tool and you select a soft round brush of the apropriate size (depending on the size of the image). Now you start erasing the outer edges and a little bit of the inside so you will get nice rings like this.
4. Now you'll make it look b bit more like real rings. Go to edit --> transform --> scale and make it as flat as you want it to be.

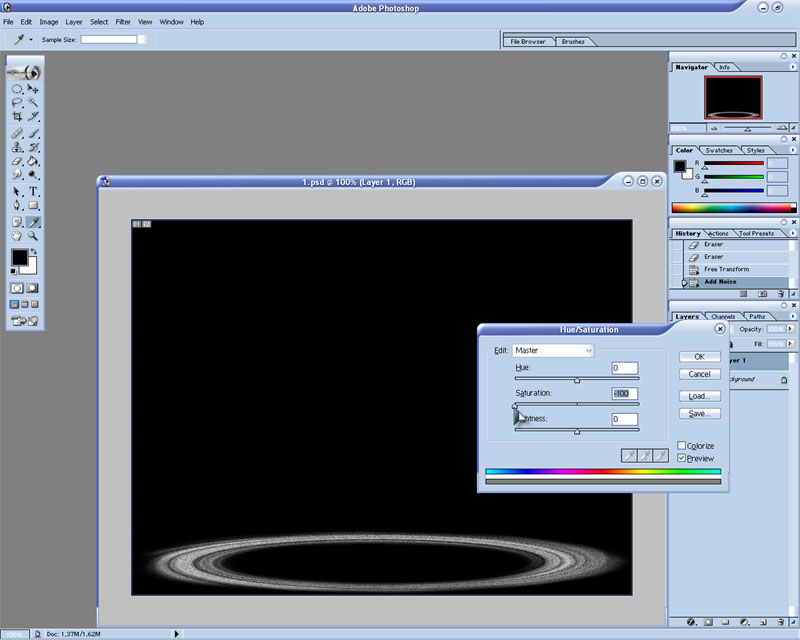
5. Now you go to filter --> noise --> add noise and set it to 15% and gaussian. once you did this there will be a lot of colord dots, to make them white you press ctrl+u and you set the saturation to -100 like this.
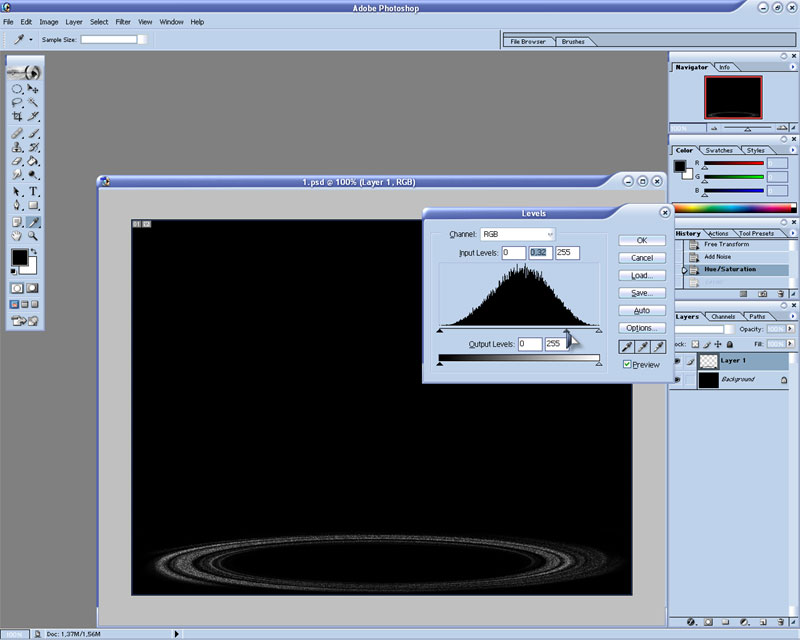
6. Now you will change the levels by pressing ctrl+l, move the center triangle to the right untill it looks like this.
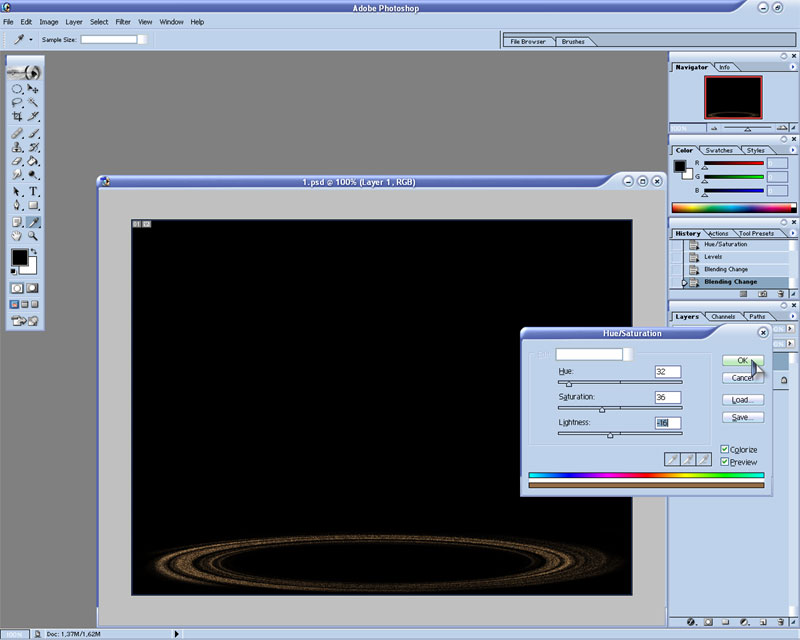
7. Almost done :) now you press ctrl+u again to change the color. Mark colorise and change the settings till you have the color of your choice.
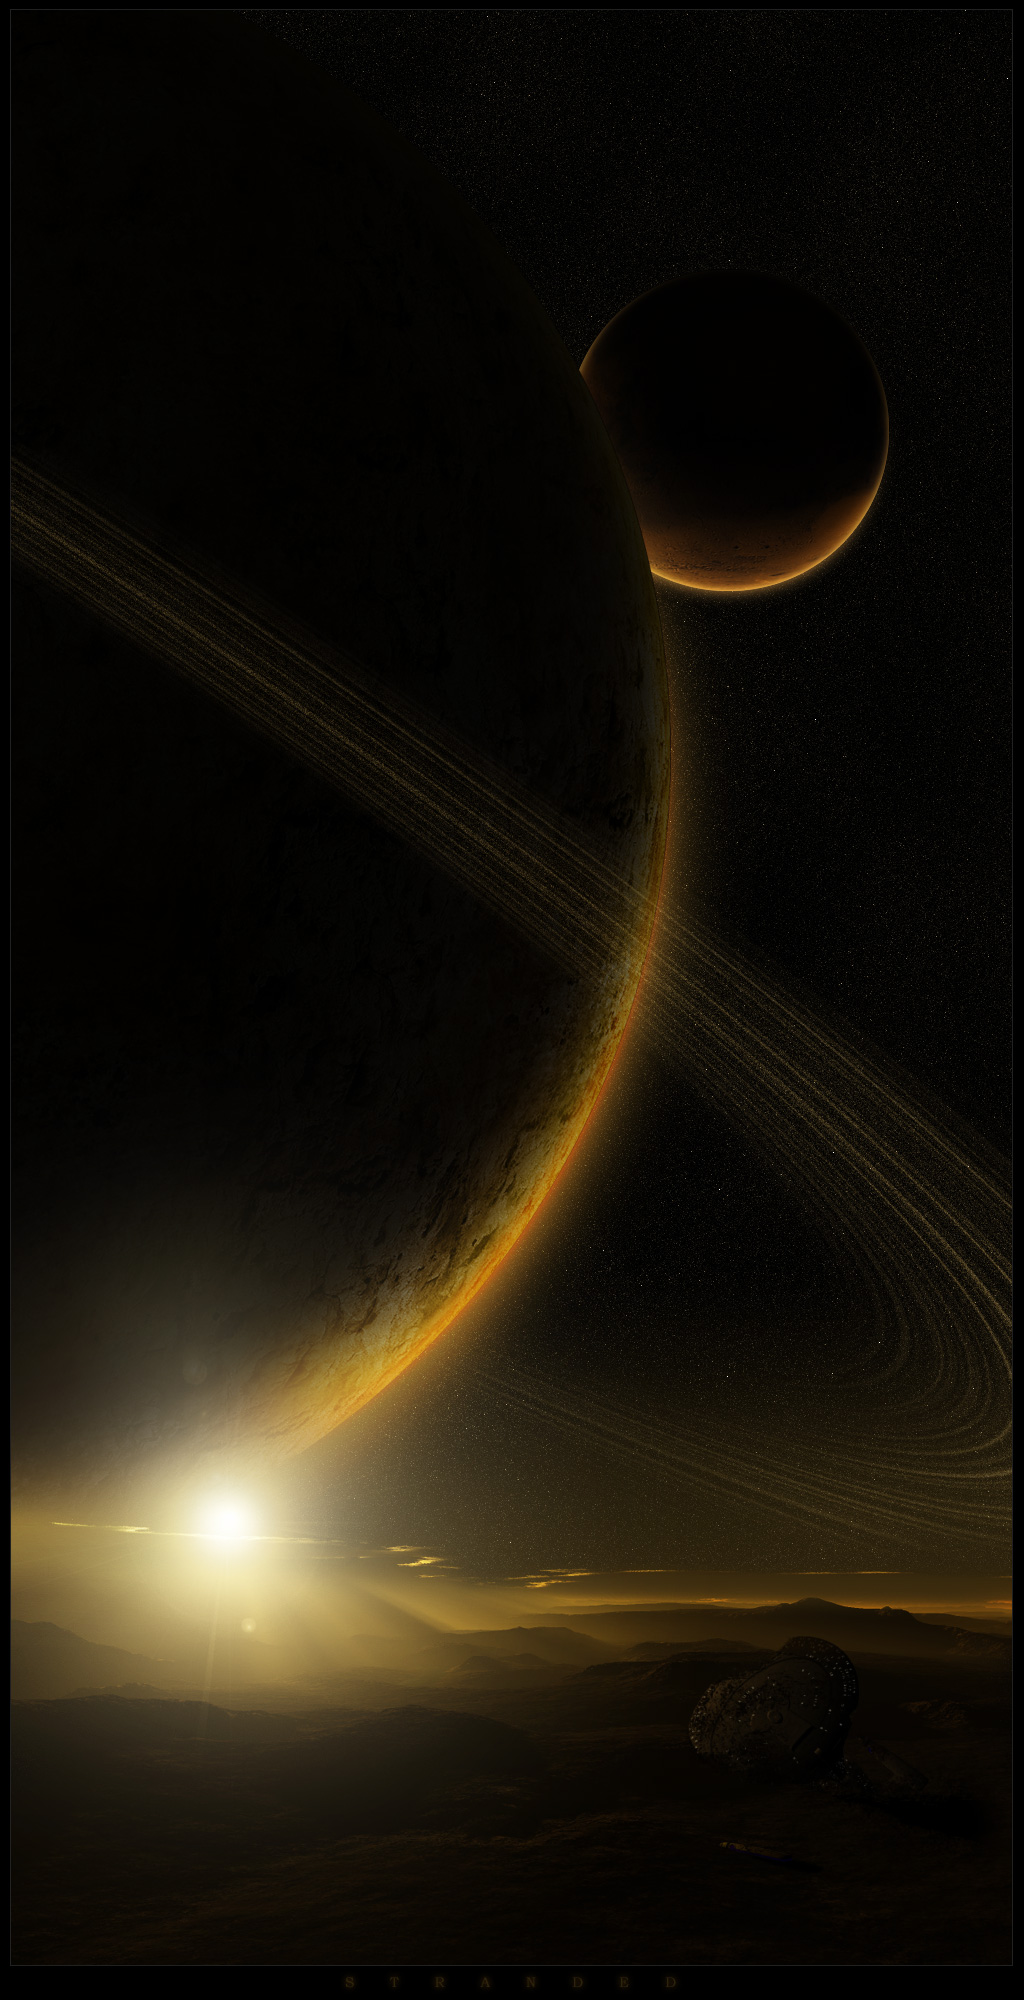
8. One more thing remains, set the layer to screen so that the black parts become invisible. Now your rings are finished and you can combine them with a planet like this.